Region & Language
Change date and measurement formats
You can control the formats that are used for dates, times, numbers, currency, and measurement to match the local customs of your region.
-
Open the Application Menu and click on Settings.
-
Click on Region & Language to open the panel.
-
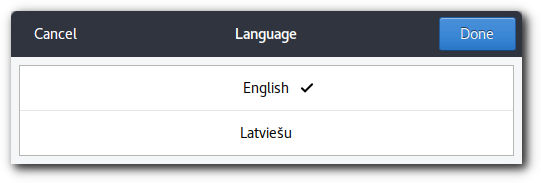
Select the region and language that most closely matches the formats you would like to use. If your region and language are not listed, click three dots at the bottom of the list to select from all available regions and languages.
-
Click Done to save.
-
Respond to the prompt, Your session needs to be restarted for changes to take effect by clicking Restart Now, or click × to restart later.
After you have selected a region, the area to the right of the list shows various examples of how dates and other values are shown. Although not shown in the examples, your region also controls the starting day of the week in calendars.

Change which language you use
You can use your desktop and applications in any of dozens of languages, provided you have the proper language packs installed on your computer.
-
Open the Application Menu and click on Settings.
-
Click on Region & Language to open the panel.
-
Select your desired region and language. If your region and language are not listed, click three dots at the bottom of the list to select from all available regions and languages.
-
Click Done to save.
-
Respond to the prompt, Your session needs to be restarted for changes to take effect by clicking Restart Now, or click × to restart later.
Some translations may be incomplete, and certain applications may not support your language at all. Any untranslated text will appear in the language in which the software was originally developed, usually American English.
There are some special folders in your home folder where applications can store things like music, pictures, and documents. These folders use standard names according to your language. When you log back in, you will be asked if you want to rename these folders to the standard names for your selected language. If you plan to use the new language all the time, you should update the folder names.

Install languages
When you install noonOS, the language you select at installation gets installed together with English, but you can add further languages.
-
Open the Application Menu and click on Settings.
-
Click on Region & Language to open the panel.
-
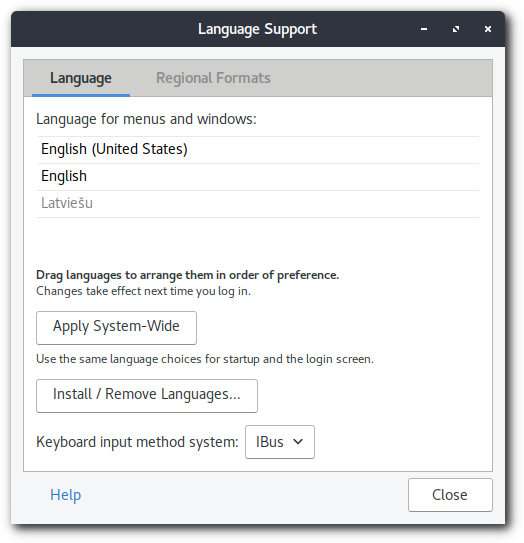
Click the Manage Installed Languages button to open Language Support.
-
Click Install / Remove Languages…. The Installed Languages window lists all the available languages, with the currently installed languages checked.
-
Check the languages you want to install, and uncheck those currently installed languages you want to remove.
-
Click Apply Changes.
-
Administrative privileges are required. Enter your password, or the password for the requested administrator account.
In addition to the translations used to display menus and messages, with a new language may follow various language support components such as dictionaries for spell checking, fonts and input methods.

Use alternative keyboard layouts
-
Open the Application Menu and click on Settings.
-
Click on Region & Language to open the panel.
-
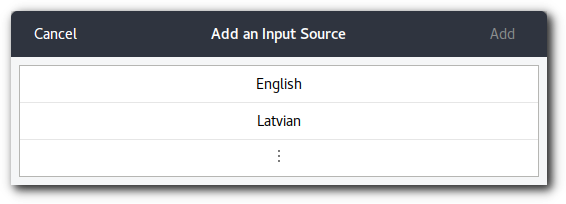
Click the + button in the Input Sources section, select the language which is associated with the layout, then select a layout and press Add.
If there are multiple user accounts on your system, there is a separate instance of the Region & Language panel for the login screen. Click the Login Screen button at the top right to toggle between the two instances.
Certain languages offer some extra configuration options. You can identify those languages because they have a gear icon next to them. If you want to access these extra parameters, select the language from the Input Source list and a new gear button will give you access to the extra settings.
The fastest way to change to another layout is by using the Input Source Keyboard Shortcuts. These shortcuts open the Input Source chooser where you can move forward and backward. By default, you can switch to the next input source with Super+Space and to the previous one with Shift+Super+Space. You can change these shortcuts in the Keyboard settings.
