Printing
Set up a local printer
Your system can recognize many types of printers automatically once they are connected. Most printers are connected with a USB cable that attaches to your computer.
You do not need to select whether you want to install a network or local printer now. They are listed in one window.
-
Make sure the printer is turned on.
-
Connect the printer to your system via the appropriate cable. You may see activity on the screen as the system searches for drivers, and you may be asked to authenticate to install them.
-
A message will appear when the system is finished installing the printer. Select Print Test Page to print a test page, or Options to make additional changes in the printer setup.
If your printer was not set up automatically, you can add it in the printer settings:
-
Open the Application Menu and click on Settings.
-
Click on Devices and the on Printers.
-
Click the Unlock button in the top-right corner and enter your password.
-
Click the + button.
-
In the pop-up window, select your new printer. Click Add.
If your printer does not appear in the Add a New Printer window, you may need to install print drivers.
After you install the printer, you may wish to change your default printer.
Change the name or location of a printer
Change printer name
If you want to change the name of a printer, take the following steps:
-
Open the Application Menu and click on Settings.
-
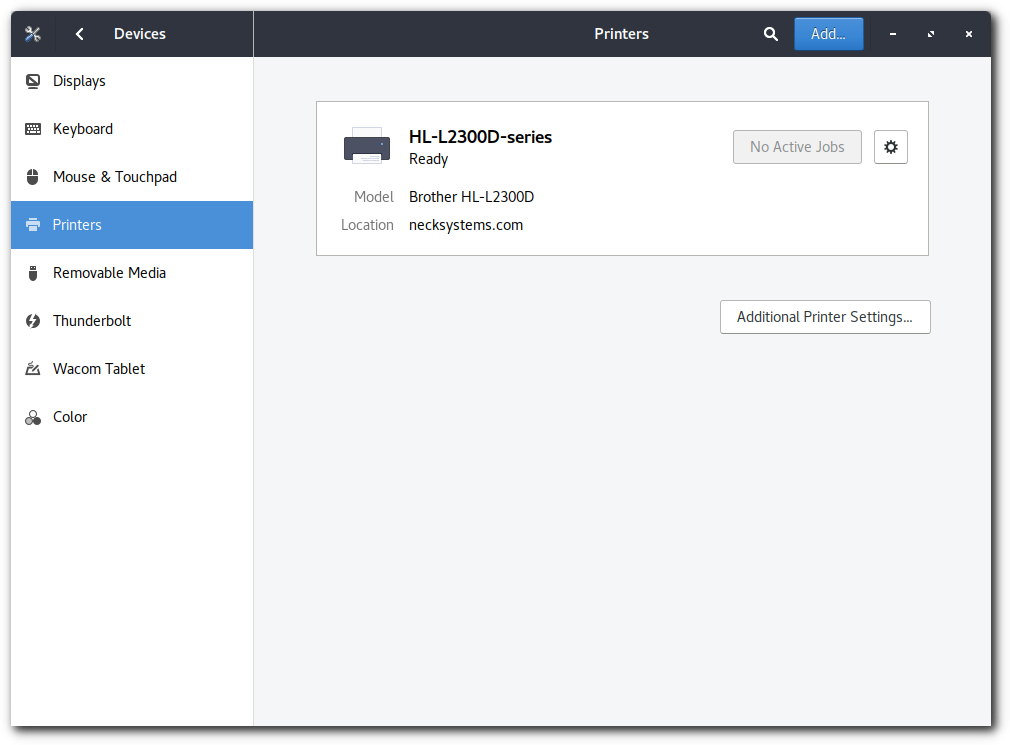
Click Devices and then on Printers to open the panel.
-
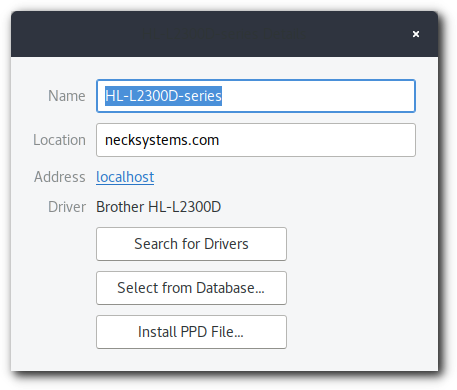
Click the gear button in printer section and click on printer details.
-
Change name or location for the printer.
-
Press Enter to save your changes.
Set the default printer
If you have more than one printer available, you can select which will be your default printer. You may want to pick the printer you use most often.
-
Open the Application Menu and click on Settings.
-
Click Devices and then on Printers to open the panel.
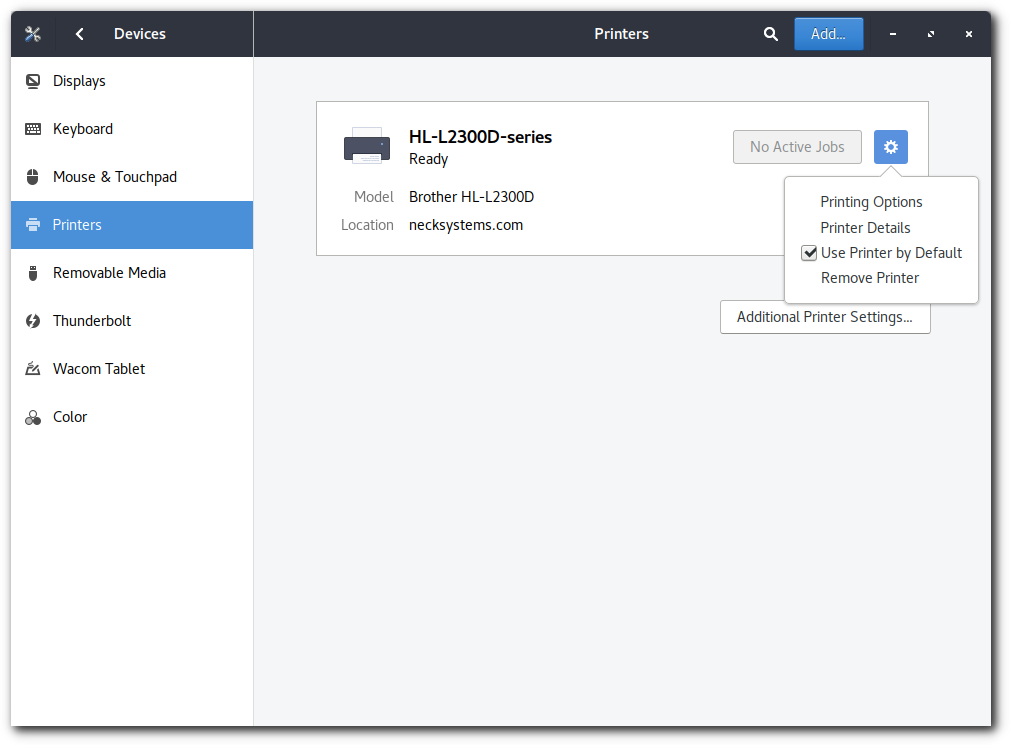
- Click the gear button in printer section and select use this printer by default checkbox.
Change the paper size when printing
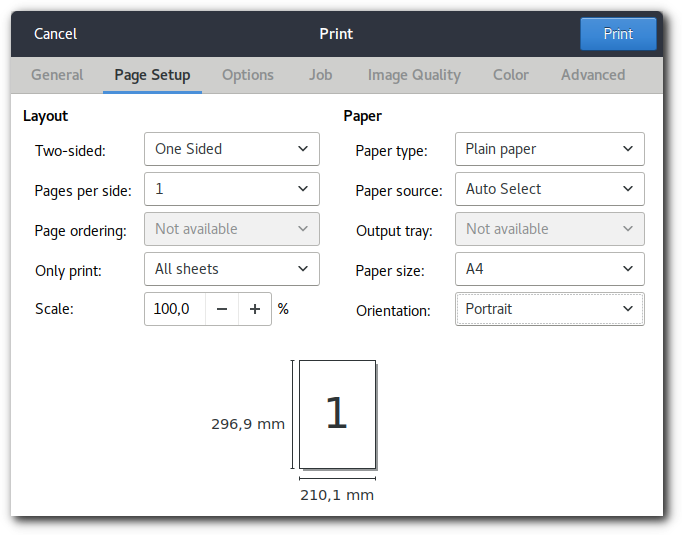
If you want to change the paper size of your document (for example, print a US Letter-sized PDF on A4 paper), you can change the printing format for the document.
-
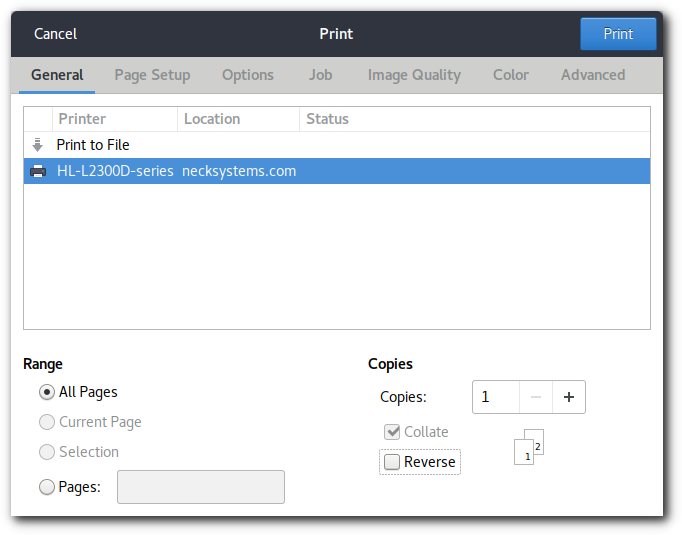
Open the print dialog by pressing Ctrl+P.
-
Select the Page Setup tab.
-
Under the Paper column, choose your Paper size from the drop-down list.
-
Click Print to print your document.
Make pages print in a different order
Reverse
Printers usually print the first page first, and the last page last, so the pages end up in reverse order when you pick them up. If needed, you can reverse this printing order.
To reverse the order:
-
Press Ctrl+P to open the Print dialog.
-
In the General tab, under Copies, check Reverse. The last page will be printed first, and so on.
Collate
If you are printing more than one copy of the document, the print-outs will be grouped by page number by default (that is, all of the copies of page one come out, then the copies of page two, and so on). Collating will make each copy come out with its pages grouped together in the right order instead.
To collate:
-
Press Ctrl+P to open the Print dialog.
-
In the General tab, under Copies, check Collate.
