Data Import
Data Import (formerly known as the Data Import Tool) is a great way to upload (or edit) bulk data, specially master data, into the system.
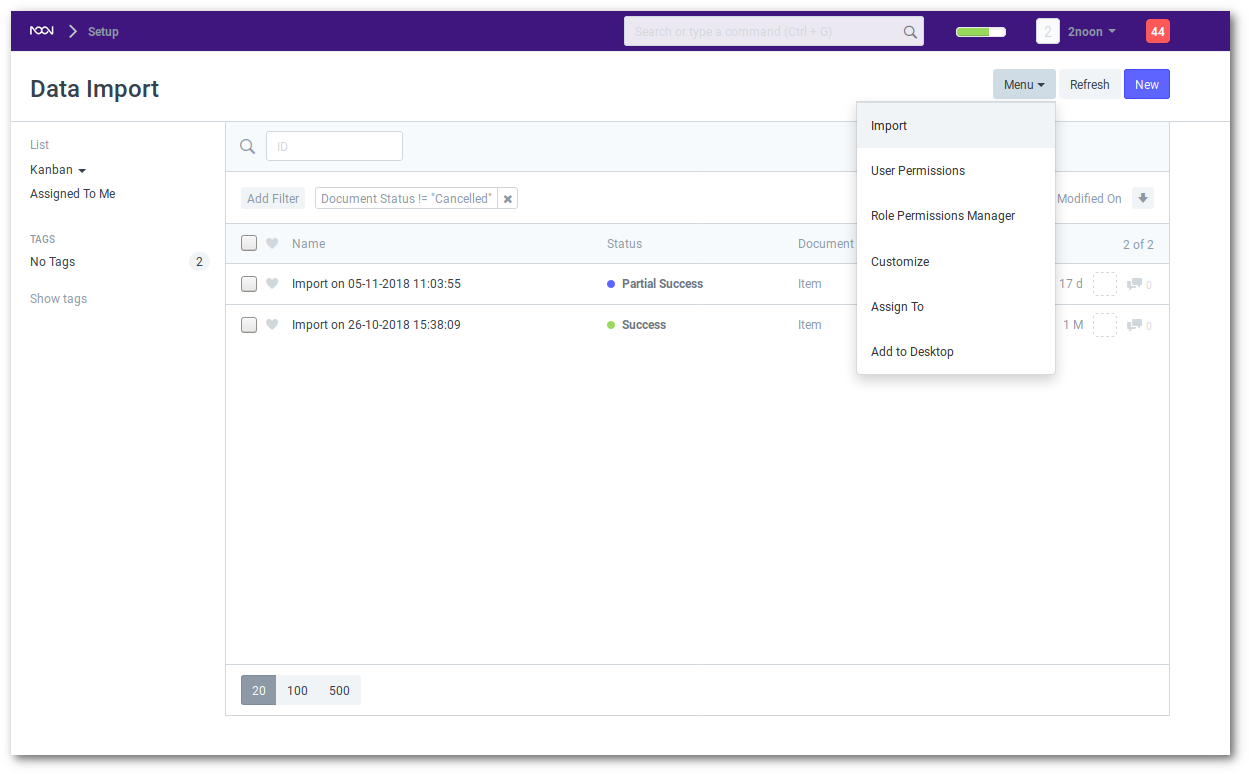
To begin importing the Data, go to either setup, or to the Transaction you want to import, or simply type so in Global Search!

1. Downloading The Template
Data in noonERP is stored in tables, much like a spreadsheet with columns and rows of data. Each entity in noonERP can have multiple child tables associated with it too. The child tables are linked to the parent tables and are implemented where there are multiple values for any property. For example an Item can have multiple prices, An Invoice has multiple Items and so on.
- Select Doctype for which template should be downloaded.
- Check fields to be included in the template.
- Select the file format of the template file.
- For a blank template, make sure that the “Download with Data” field is unchecked.
- For bulk editing, you can check “Download With Data”.

2. Fill in the Template
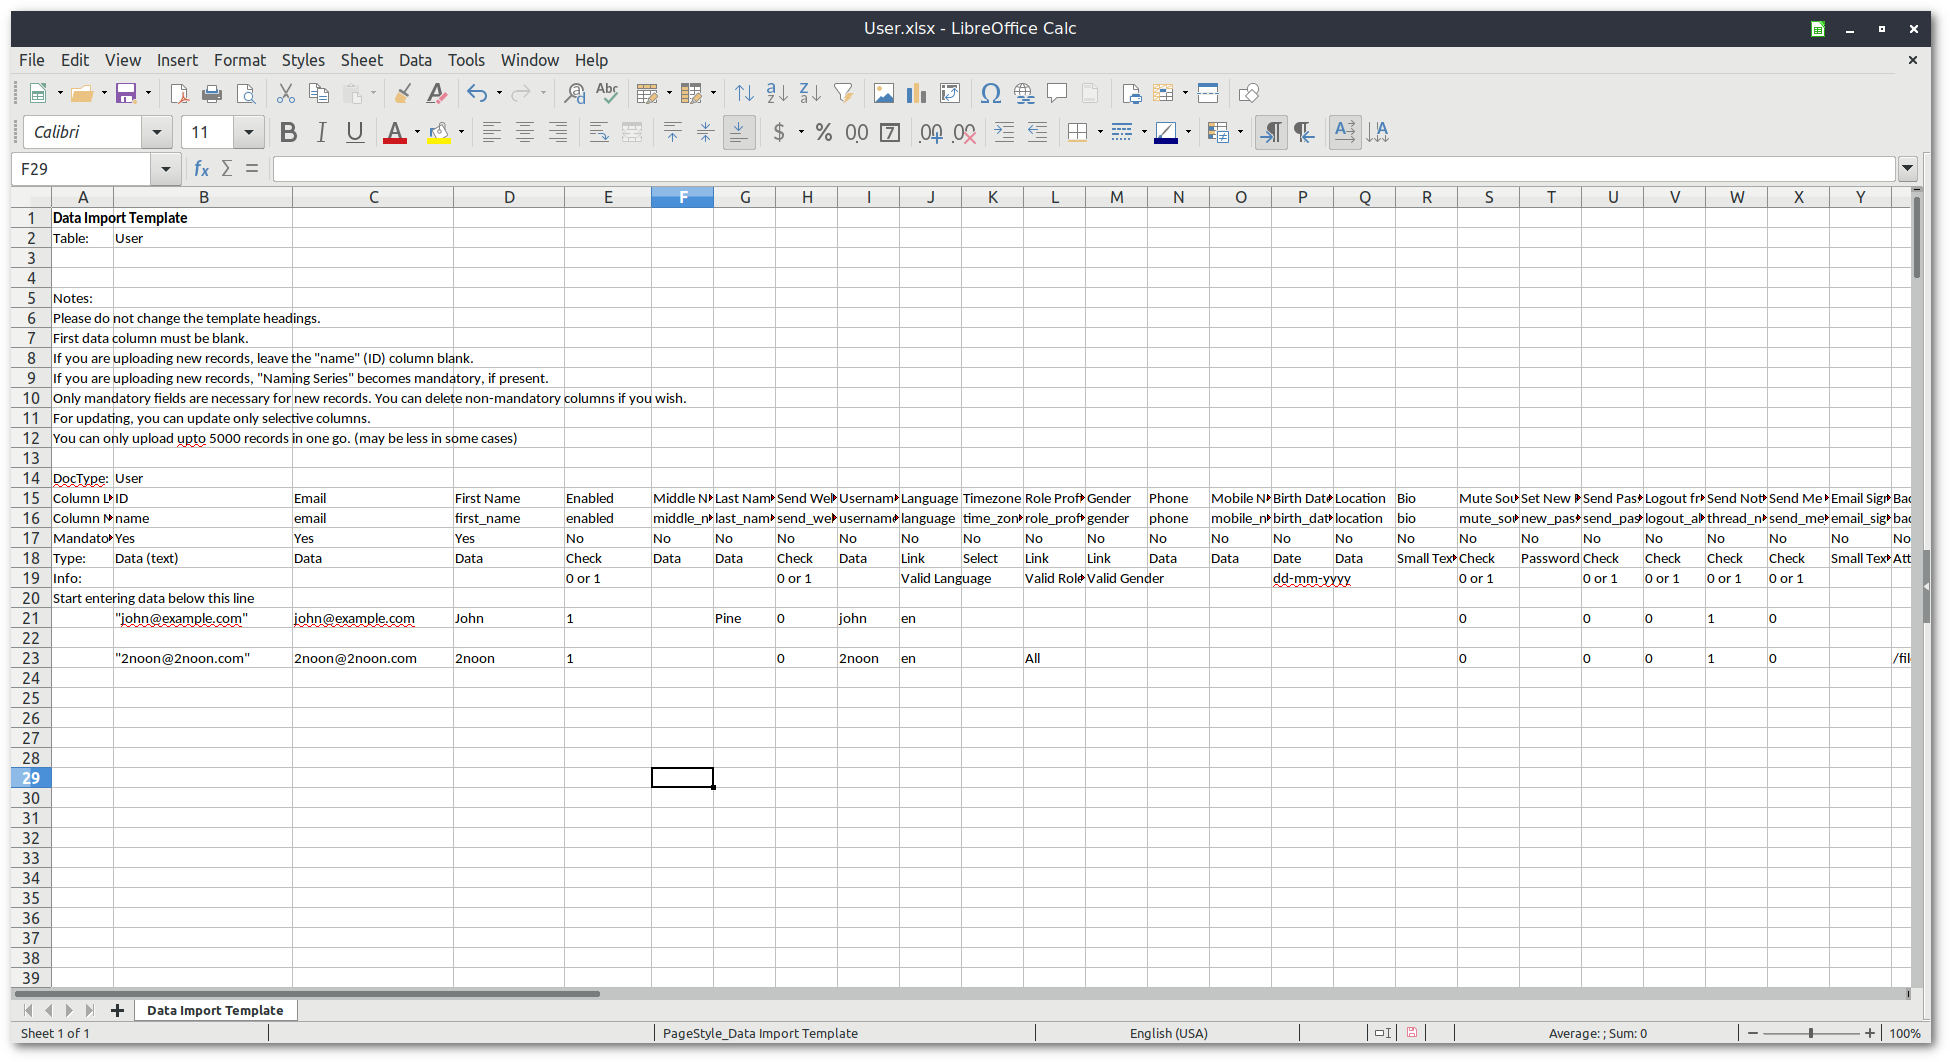
After downloading the template, open it in a spreadsheet application (like Excel, Numbers or LibreOffice) and fill in the data below the column headings.
Then export your template or save it as a Excel or Comma Separated Values (CSV) file. To export the document in Excel tick the checkbox for Download in Excel File Format

3. Upload the File either in .xlsx or .csv
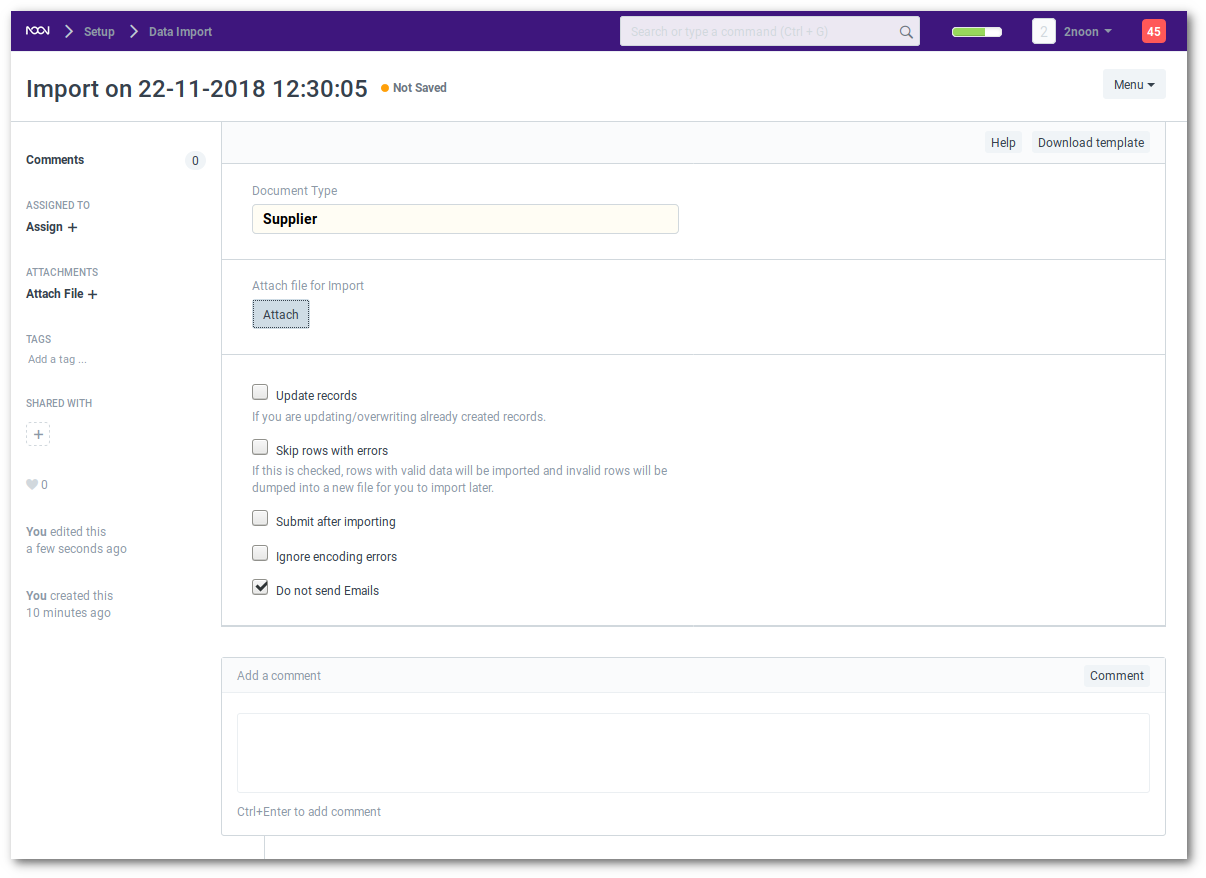
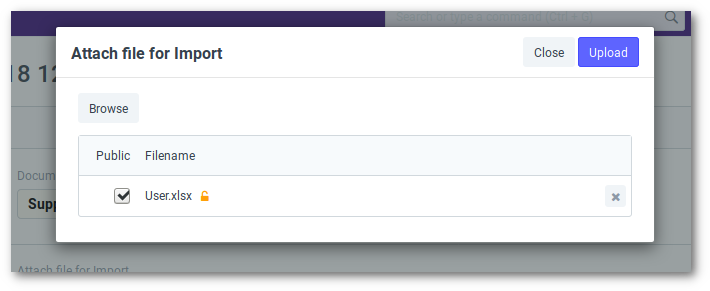
Finally attach the file in the section. Click on the “Upload”. Once the upload is successfull click Import” button.


Notes:
- Make sure that if your application allows, use encoding as UTF-8.
- Keep the ID column blank for new records.
4. Uploading All Tables (Main + Child)
If you select all tables, you will get columns belonging to all the tables in one row separated by ~ columns.
If you have multiple child rows then you must start a new main item on a new row. See the example:
Main Table                          ~   Child Table
Column 1    Column 2    Column 3    ~   Column 1    Column 2    Column 3
v11         v12         v13             c11         c12         c13
                                        c14         c15         c17
v21         v22         v23             c21         c22         c23
To see how its done, enter a few records manually using forms and export “All Tables” with “Download with Data”
5. Overwriting
noonERP also allows you to overwrite all / certain columns. If you want to update certain columns, you can download the template with data. Remember to check on the “Update Records” box before uploading.
Note: For child records, if you select Overwrite, it will delete all the child records of that parent.
6. Upload Limitations
You can only upload upto 5000 records in one go. (may be less in some cases).
Why is this? Uploading a lot of data can cause your system to crash, specially if there are other users doing things in parallel. Hence noonERP restricts the number of “writes” you can process in one request.
Import Options
1. Update records
This option let’s you edit/overwrite the current data on import.
2. Skip rows with errors
If this is checked, rows with valid data will be imported and invalid rows will be dumped into a new file for you to import later.
3. Submit after importing
If this is checked, in case there are submittable transactions which are imported ()
4. Ignore encoding errors
In case there are any unicode errors, a new file with the invalid rows will be created to be imported later.
How to Attach files?
When you open a form, on the right sidebar, you will see a section to attach files. Click on “Add” and select the file you want to attach. Click on “Upload” and you are set.
What is a CSV file?
A CSV (Comma Separated Value) file is a data file that you can upload into noonERP to update various data. Any spreadsheet file from popular spreadsheet applications like MS Excel or Open Office Spreadsheet can be saved as a CSV file.
If you are using Microsoft Excel and using non-English characters, make sure to save your file encoded as UTF-8. For older versions of Excel, there is no clear way of saving as UTF-8. So save your file as a CSV, then open it in Notepad, and save as “UTF-8”. (Sorry blame Microsoft for this!)